Tomato Plant Dying? The One Change That Brought Mine Back
Yellow leaves, brown tips, wet soil, no new growth: the plain-water flush and vermicompost top dressing that helped my tomato plant recover.
By Sarvada Farm Team
From Sarvada Organic's farm team, based on small-batch vermicompost production and Indian balcony-garden support since 2018.
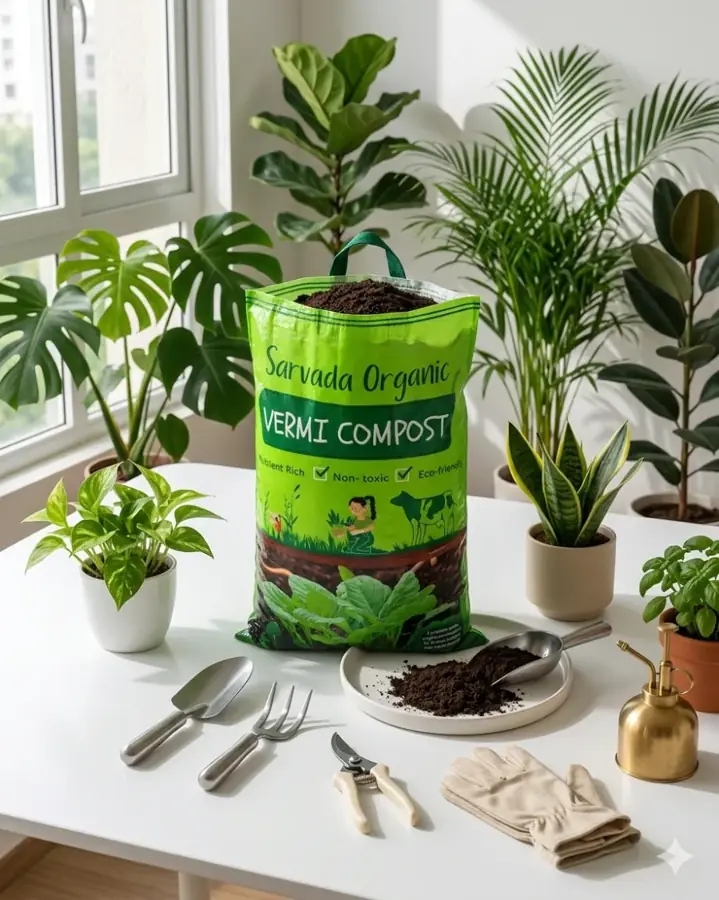
If your tomato plant has yellow leaves, brown crispy tips, curled new growth, and wet soil that never seems to help, stop feeding it for two weeks. Flush the pot with plain water, then put one teacup of vermicompost on top of a 12-inch pot, or 4-5 teacups on an 18-inch grow bag. That one change brought my plant back.
I had been doing the thing every new tomato grower does: seeing a weak plant and giving it more fertilizer. More liquid feed. More blue crystals. More hope. The plant did not need more food. It needed the salt build-up removed and a slower food source on top.
The rescue in one line
What my tomato plant looked like before the fix
This was not one sad yellow leaf at the bottom. That is normal on old tomato growth. This looked different: the plant had stopped pushing new shoots, the leaf tips were brown and dry, and the pot stayed damp even though the plant looked thirsty.
| What I saw | What it usually means | What I changed |
|---|---|---|
| Brown crispy leaf tips | Fertilizer burn or salt stress | Stopped chemical fertilizer |
| Yellow older leaves | Old damage or root stress | Did not expect those leaves to turn green again |
| Curled new growth | Roots struggling to pull water | Flushed the pot slowly |
| Wet soil but tired plant | Roots not drinking properly | Waited before feeding again |
| No new shoots for a week | Plant in survival mode | Used vermicompost as a slow top dressing |
The one thing I changed
I stopped the chemical fertilizer completely. No liquid feed, no NPK granules, no "just a little more" rescue attempt. Then I flushed the pot with plain water until water ran out of the bottom holes. I did that slowly, not like throwing a bucket at it.
After the pot stopped dripping, I added vermicompost only on top. For a 12-inch tomato pot, use one full teacup. For an 18-inch grow bag, use 4-5 teacups. Spread it like a thin blanket, leave a two-finger gap around the main stem, lightly mix the top finger-depth of soil, and water once.
Why this works for a tomato plant
Chemical fertilizer works fast because nutrients are dissolved as salts. That can help in open soil, but pots are small bowls with limited drainage. If you feed again and again, salts collect near the roots. The plant can look thirsty even when the pot is wet.
The University of Maryland Extension explains fertilizer burn on vegetable leaves as a real problem when fertilizer concentration is too strong. In a pot, the practical fix is simple: dilute what is sitting there, stop adding more, and restart gently.
How much vermicompost should you put on a weak tomato plant?
Use less than your nervous brain wants to use. A recovering tomato plant needs a calm soil surface, not a rich new layer packed around the stem.
| Tomato container | Use this much | How to put it |
|---|---|---|
| 8-inch pot | Half a teacup | Sprinkle on top, like seasoning |
| 10-inch pot | Three-quarter teacup | Keep away from the stem |
| 12-inch pot | 1 full teacup | Mix only the top finger-depth |
| 14-16 inch pot | 2 teacups | Spread as a thin blanket |
| 18-inch grow bag | 4-5 teacups | Use only if drainage is good |
The exact rescue steps
- Stop all fertilizer. Do not add NPK, liquid feed, Epsom salt, banana peel water, or anything else for two weeks.
- Check drainage holes. If water cannot leave the pot, flushing will only drown the roots.
- Flush slowly. Water until it drains from the bottom. Wait 10-15 minutes. Repeat once. Do this for 2-3 days if the plant was heavily overfed.
- Remove only the worst leaves. Cut fully brown or diseased leaves. Leave partly green leaves alone; they still feed the plant.
- Add vermicompost on top. Use the table amount. Do not bury the stem and do not dig into the root ball.
- Wait 10-14 days. New growth is the result. Old burned leaves are not the result.
Week by week: what actually happened
Days 1-3
Nothing dramatic happened. The yellow leaves stayed yellow and the brown edges stayed brown. The only useful sign was that the pot started draining cleanly and the soil stopped smelling sharp.
Days 7-10
Two tiny shoots appeared at the top. Not big leaves. Just small green tips that were not curled or burnt. That was the first sign the roots had started drinking properly again.
Week 3
The plant had five new leaves and three small flower buds. The old damaged leaves still looked ugly. I left them until the new leaves were strong, then trimmed the worst ones.
Week 5
The plant looked like a tomato plant again: upright, darker green at the top, and flowering. I did not restart chemical fertilizer. I used vermicompost once a month and diluted vermiwash separately when the plant began setting fruit.
When this fix will not work
Not every dying tomato plant has fertilizer burn. If leaves have black spots, circular target marks, white powder, or wet rotten stems, you are probably dealing with disease or rot. Vermicompost helps soil health, but it cannot undo a fungal infection already spreading through the leaves.
- Black circular spots - remove affected leaves and improve airflow.
- White powder on leaves - treat as powdery mildew, not nutrient stress.
- Soft black stem near soil - check for stem rot and overwatering.
- Plant fully brown from top to bottom - it is too late for recovery.
What I would do differently next time
I would feed the soil before the plant panics. For a healthy tomato in a 12-inch pot, one teacup of vermicompost every 30 days is enough. For a fruiting tomato in an 18-inch grow bag, 4-5 teacups every 20-30 days works if the bag drains well. More than that is usually impatience, not better plant care.
Tomato rule
Frequently asked questions
Stop chemical fertilizer, check drainage, flush the pot with plain water, then add vermicompost on top. Use one teacup for a 12-inch pot or 4-5 teacups for an 18-inch grow bag. Wait 10-14 days for new growth.
Cut leaves that are fully brown, crispy, or diseased. Leave partly green leaves until fresh growth appears because they still help the plant make food.
It can help if the problem is fertilizer burn, salt build-up, weak soil, or mild root stress. It will not save a plant that is fully dried, rotted at the stem, or badly infected with fungal disease.
Use half a teacup for an 8-inch pot, one full teacup for a 12-inch pot, and 4-5 teacups for an 18-inch grow bag. Spread it on top and mix only the top finger-depth of soil.
Do not judge by old leaves. In a recoverable plant, fresh shoots usually appear in 7-14 days. Real recovery is easier to see by week 3.
For a stressed tomato plant, do not use both together. Stop chemical fertilizer first, flush the pot, use vermicompost, and wait at least two weeks before adding anything else.
Wet soil with a wilting plant usually means the roots are not drinking properly. Common reasons are salt build-up, poor drainage, root rot, or compacted soil.
Try Sarvada Organic
Pure vermicompost from ₹249 · Lab N 3.16%
No silt, no preservatives. Free delivery above ₹499 and Cash on Delivery on Amazon.
Buy on Amazon